Making your own Fabric Covered Bulletin Board with faux nail heads is super easy and super inexpensive! This DIY project comes together with just a small amount of cash and takes very little time.
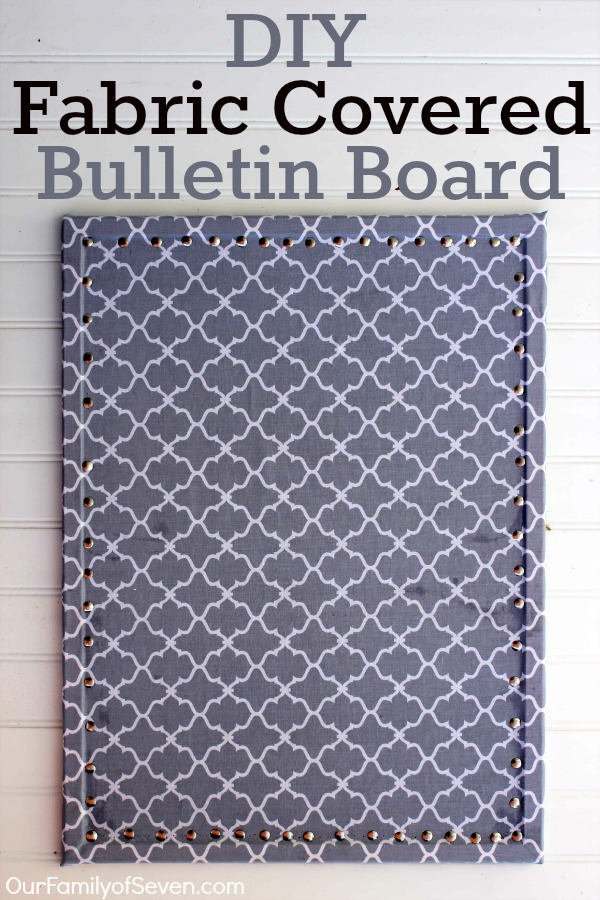
DIY Fabric Covered Bulletin Board
I have been excited to introduce some grays and blues into my home decor. We currently have lots of beige and red colors throughout most of our rooms. For years, I loved lots of color. Then I moved on to neutrals. Now I am ready to finally move with the trends and introduce some muted grays and blues into our home.
This project was my first piece I have decided on. We use bulletin boards for all of our kids school work and other important papers. Geez, now thinking we probably have about 5 different boards around here, ha ha! This will be our first fabric covered and the first that will blend with my home decor wishlist.
Last week while shopping at Tuesday Morning (a sort of outlet store), I spotted a gray rug that I am eager to purchase. Then I dropped in Walmart and noticed some drapes that would match so well. The color I was looking to purchase was currently out of stock but hoping they arrive before we begin painting.
Now I have to figure if I am ready to paint our beige walls blue or gray. I am excited to have some change. We have lived with these colors for 4 years now this June. I am ready for a fresh look. I am planning to share some of my inexpensive ideas and purchases with you here on the blog. I am sure the progress will take a bit because I am hoping to purchase a few new furniture pieces too!
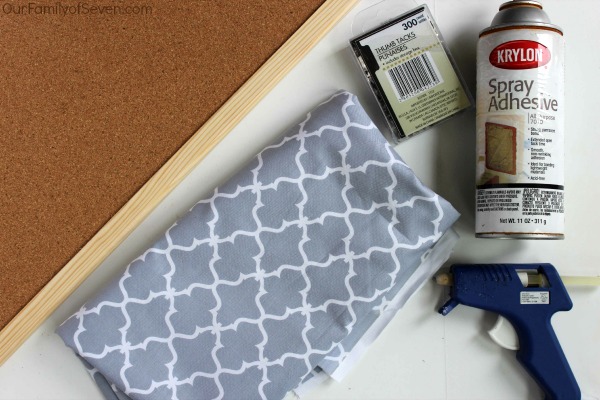
Back to our super inexpensive bulletin board… This thing was so super simple to make. I found the board at Hobby Lobby for around $9 and I had a 40% Off Coupon. I also found the fabric at Hobby Lobby, I paid $5.99 for the yard. I fell in love with the print right away. I love the design and the color. I know it will match the vision I am seeing for our living room. Plus it will inspire me for the whole transformation. I grabbed a whole box of basic silver tacks at our local Dollar Tree and I had plenty leftover for another project.
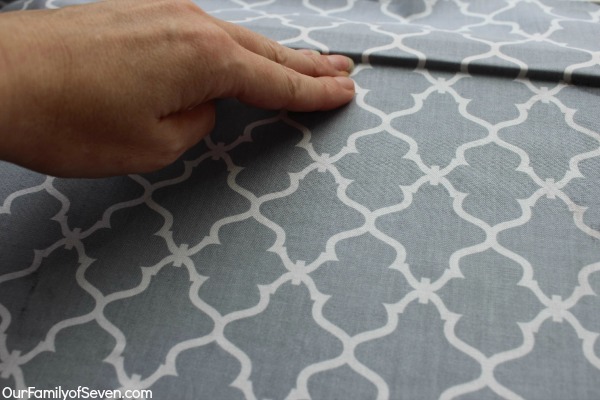
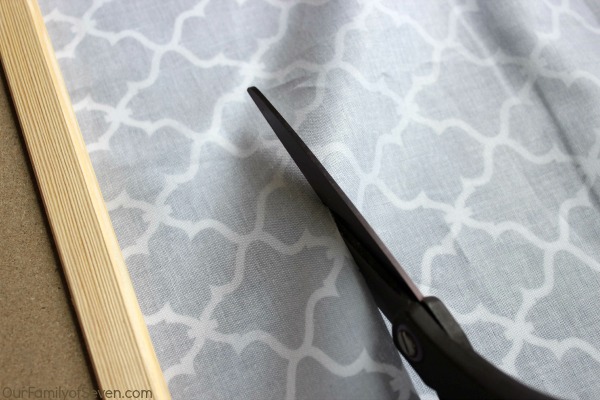
I started by ironing our my fabric so it would be nice and smooth. I then trimmed the fabric leaving about an additional 2 inches all around the sides. I left my frame in place. Some people remove theirs, I like the look of the framing under the fabric.
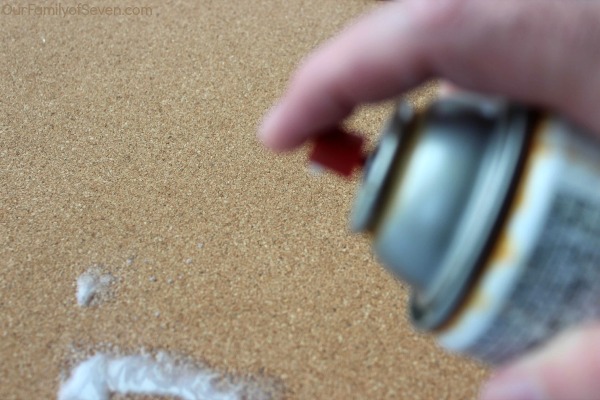
I then flipped it back over and used some spray adhesive on the front side. I just used a light coating to make stay in place. I made sure to push into the corners near the frame to give it a tight look.
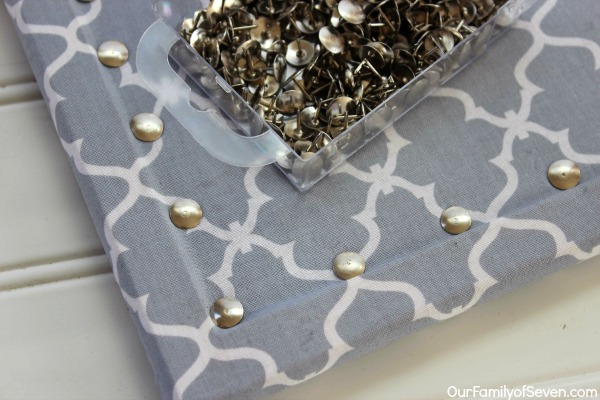
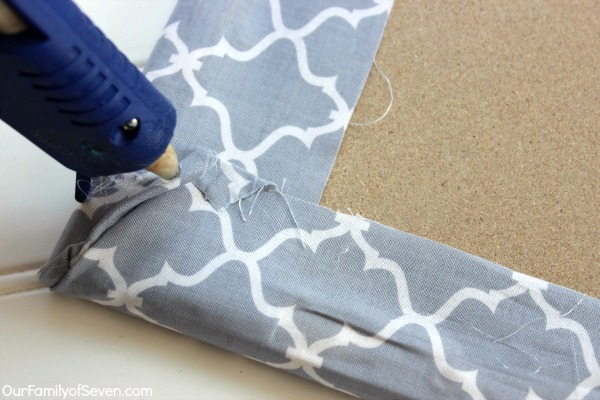
Then the hard part came, lol. Pushing in all the tacks. I started out with them a bit closer and then realized I would most likely not have any thumb left, ha ha. It is a bit painful and you will need to give your thumb a break from time to time. I did mine a bit lazily and did not measure them all out perfectly (feel free to measure your spacing). The last step is to flip your board over and hot glue your fabric to the frame. I sort of wrapped my corners like a present, it attached quickly and easily.
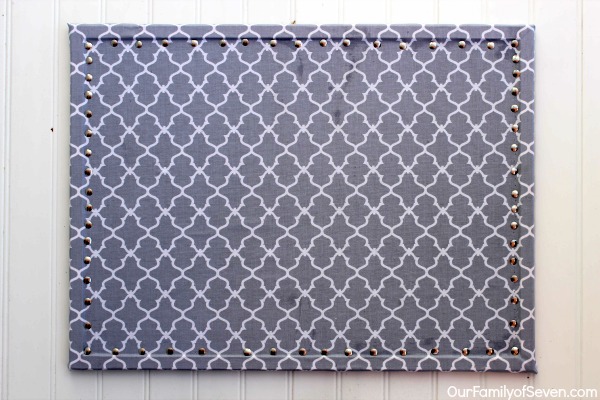
Overall, I am super pleased with this piece and the price tag. I am looking forward to seeing on the gray or blue walls. I think it will look super cute near my desk or in our living room hallway with some black and white pictures of the kiddos.

I am a huge fan of Pottery Barn and Crate and Barrel. This reminds me of something I would normally pay way to many $$’s for. Keeping this redecorating as inexpensive as possible is going to be the key. We are saving for our next vacation and I am thinking I need to not dip into our vacation savings. It is going to be a challenge but I am up for this challenge. What colors are you currently decorating with? Are you a fan of the blues and grays that everyone has been decorating with? Do you like the chevron and iron type prints?
Leave a Reply